Tuesday, September 30, 2014

Midterm 5


I started off by writing my name on the "monster" photo on GIMP with the paint brush on star mode.

This is a screenshot of me saving the image as a Progressive JPEG file.
This is the image saved as a progressive JPEG file.

This is a screenshot of me saving the image as a interlaced PNG file. 
This is the image saved as a interlaced PNG file. 

In this midterm assignment I had to upload the "monster" image and write my name on it with the paintbrush tool on GIMP. Then I had to save the image  two different ways. I had to save it as a progressive JPEG file and then as a interlaced PNG file. 

This is screenshots of me saving the "monster" image as a progressive JPEG file and a interlaced PNG file. It is a midterm exercise from the Immersive Education course that I am taking at Boston College. the course is called Discovering Computer Graphics. For details, visit the immersive  BC portal  at  http://ImmersiveEducation.org/@/bc

Thursday, September 25, 2014

Enhancing my 3D Virtual World with 2D Graphics Tool

I started editing by changing the color of my avatars shirt with the fill in tool.

Then I changed the color of my avatars pants.
I put a texture on my avatars pants into a leopard pattern.
I drew in some clouds and chairs and a ball with the paint brush tool.
This is my photo complete with all of the 2D editing that was done to it by GIMP. I also added a table to the right.

MeshMoon Avatar

 We going the new beginnings world on MeshMoon and I was editing the avatar in this screenshot.
I decided to go with the robot and in this screenshot I changed my avatar to the robot.

MeshMoon Exploration


This is a screenshot of our group in the Circus World in MeshMoon.

 This is a screenshot of our group in the lunar world in MeshMoon.

This is a screenshot of our group in the New Beginnings World in Meshmoon. 

 This is a screenshot of our group in the summer landscape world in Meshmoon.
This is a screenshot of our group in the winter landscape World in MeshMoon.


Roll Call #1 class #4

This is a screen shot of class #4 learning ladder. I used GIMP to crop out the ladder from my desktop and everything elese.

Monday, September 22, 2014

Class 3: Exploring the Virtual World Framework (VWF)


Comparing Mesh Moon's Web Rocket and Virtual World Framework I believe that Web Rocket is much more easier to use and the control for it are more understanding. On VWF it was really hard to understand how to move your avatar around in the virtual world. Another observation that I observed was that VWF has much more features to edit the atmosphere and also there is a option that allows you to view different camera angles. A huge difference that I noticed between the two was that VWF was very hard to load and it was very slow when operating. Web Rocket on the other hand was not that slow and things loaded quickly.

I believe that the quality of graphics is better on Web Rocket because it is loading better than VWF . On VWF things are trying to load so therefore you have some images in the world that do not load up completely and are blurry. They are both alike because they both allow you to be in a virtual world with other people and communicate through a chat. VWF definitely needs to be reconstructed so that you can easily use it with some of the keys on the keyboard like Web Rocket. Other than some differences with both I still think Web Rocket is better and that VWF takes too long to load and affects the virtual experience.

Midterm #4


Welcome to Mesh Moon's Winter Landscape. I took this screen shot of my avatar in the  winter landscape world by having my friend log into the same world and take a screenshot of me as I did of him so that we have a screen shot of each other. Then I used the crop tool so that I can focus on my avatar and I added my name in orange so that it can be visible. I also used the select region tool along with the text box so that I can insert a greeting into my screen shot.

This is a greeting card with a screenshot of my avatar in the winter landscape world. It is a midterm exercise from the Immersive Education course that I am taking at Boston College. The course is called Discovering Computer Graphics . For details, visit the immersive BC portal at http://ImmersiveEducation.org/@/bc

Class 3: Entering Meshmoon Virtual Worlds

 I am in "Lunar World" and my avatar is on the moon. In this screenshot I am looking at the rocket ship about to take off.
In this screen shot I am standing on the launch pad for the rocket ship.
In this screenshot I am standing right near the space ship looking at the smoke coming out of it.

Saturday, September 20, 2014

Red Eye Image Formats Assignment

This is the red eye image saved in JPEG format.
This is the red eye image saved in GIF format.
This is the red eye image saved in PNG format.

I can see a difference in the photo by the different formats that is it saved on. I believe that the JPEG format is the clearest of them all. Then the PNG format is similar but still not as clear as the JPEG. Then finally the GIF format is the worst of them all I can notice poor image quality not like JPEG or PNG.

Midterm 3


I first uploaded the picture on GIMP.
Then I started by writing my name in big letters on the picture before anything.
Then I started to read the tutorials in the textbook to learn how to save images in different web formats.
Then I saved the image as a JPEG file under file extension.
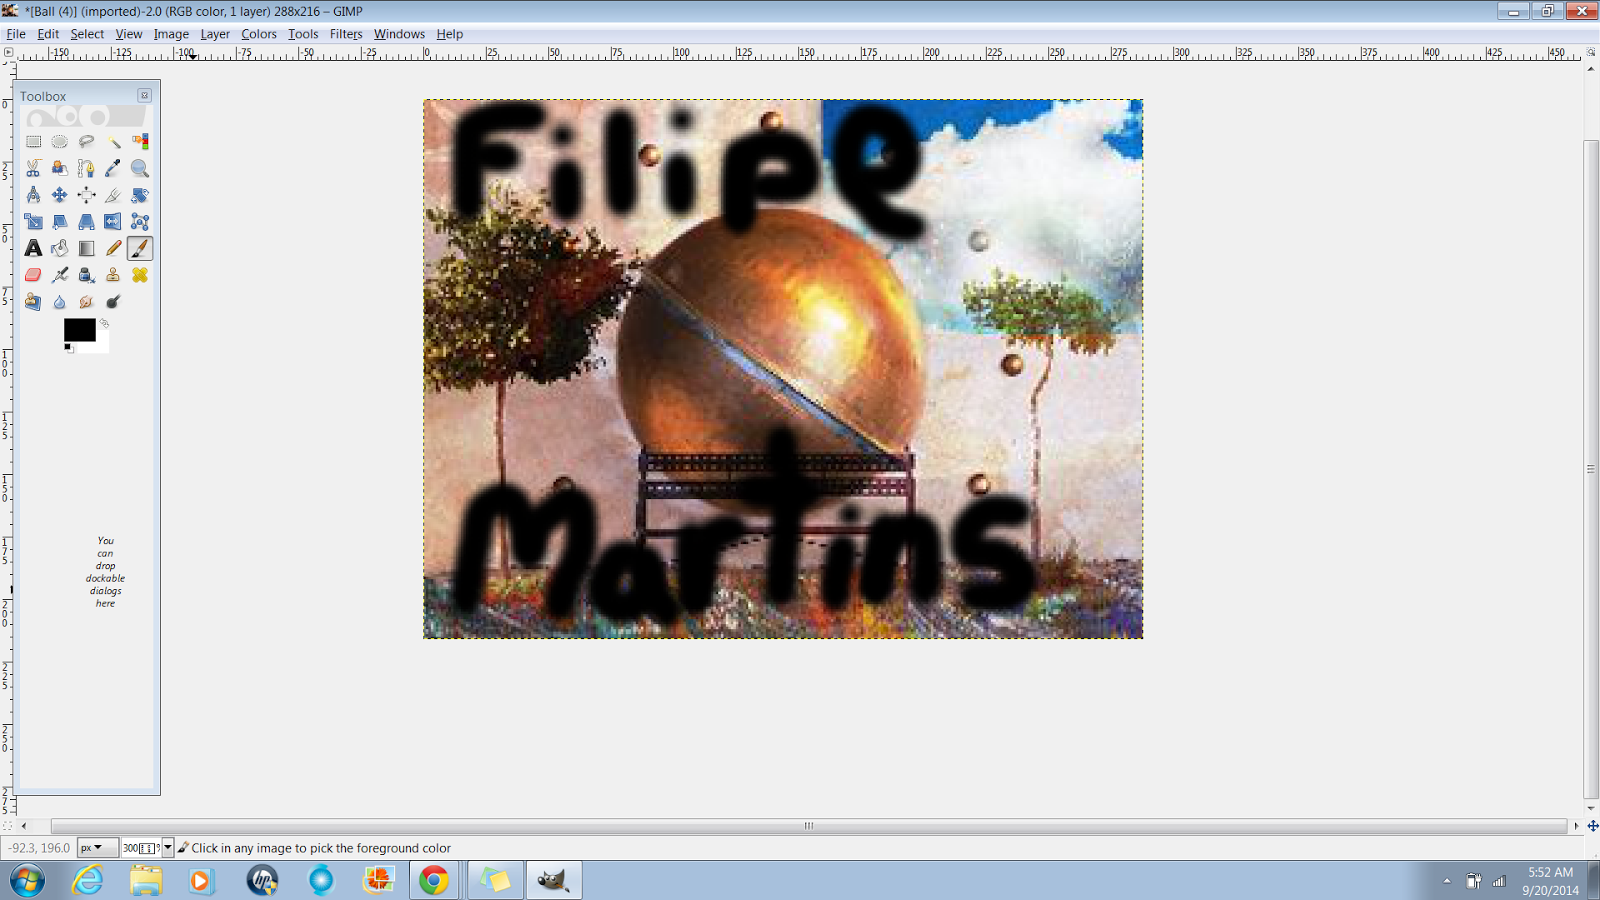
This is the final picture saved as a JPEG file.
This is when I saved the photo as a GIF file under the file extension box.
This is the final picture saved as a GIF file.
This is when I saved the photo as a PNG file under the file extension box.

This is the final picture when I saved it as a PNG file. 


This is screenshots of me saving the image of the ball under GIMP with different web formats. The formats that I saved the image as was JPEG, GIF, and PNG. I changed the format of the file under the file extension box and then selected which format I wanted to use.  It is a midterm exercise from the Immersive Education Course that I am taking at Boston College. The course is called Discovering Computer Graphics. For Details, visit the immersive BC portal at http://ImmersiveEducation.org/@/bc

Thursday, September 18, 2014

Midterm 2

 This is a screenshot of when I uploaded the cat photo on GIMP.
I started off by writing my name at the top of the picture and then with the select region tool I made a region right near the cats mouth.
I then filled in the region with the color white .
I then used the text tool and made another region inside the white region so that I can put it text. Along with that I used the text toolbox to decide on the color text and size.

Here is the final product with the caption in the photo in red.

This is my work using GIMP  putting in a text box with captions onto a photo. I used the select region tool and made the box in the photo and then I filled it in with white. I then proceeded to using a text box and put in some text in the the region I had selected earlier. It is a midterm exercise from the Immersive Education course that I am taking at Boston College. The course is called Discovering Computer Graphics. Fpor details, visit the immersive BC portal at http://ImmersiveEducation.org/@/bc