Thursday, October 30, 2014

Class 9: M 3D Rocket in Meshmoon

In this screenshot I am in the world ans trying to choose a spot to put my rocket.
here i started by making the cylinder which is the body of the rocket.
Here I created a cone and put it at the top of the cylinder as the nose of the rocket.
In this screenshot I made the fins of the rocket with cones and adjusted them so that they fit on the rocket well.
here is the final screenshot of me looking at the finished rocket on meshmoon. 


Class 9: Customizing my Avatar


In this exercise I was practicing using all of the setting on editing my avatar in different ways and also had the avatar respond in different ways as well. It was great customizing the avatar. 


Here is a screenshot of my original avatar on the edit avatar page.
Here I switched the avatar to a man and I put a muscular upper body on him which was an option on the left hand side of the edit avatar page. 
then I switched the avatar to a businessman and I made him look like he is sitting on something. 
Then I switched it back to a robot but changed the color to a yellow robot and I made him fall to the floor like he died. 
Here is the final screenshot of the avatar that i decided to stick with the yellow robot. 


Class 9 Team Rankings


Here is the team rankings on our board on Meshmoon. 

Class 8, FINAL PREPARATION:Learning the basics of JavaScript


These are the screenshot of me working on the Intro to JavaScript on Khan Academy since the the last assignment I did the advanced not realizing it. So here I spent 3 hours doing the Intro tutorials on Khan Academy learning about JavaScript. 


Watching a video about JavaScript.
Another video that I am watching on Khan Academy.
Here is a tutorial showing me how to use JavaScript. 
Here I am trying out what the tutorial just showed me. 
Here is another tutorial showing how to make shapes. 
Here I am trying it for myself. 
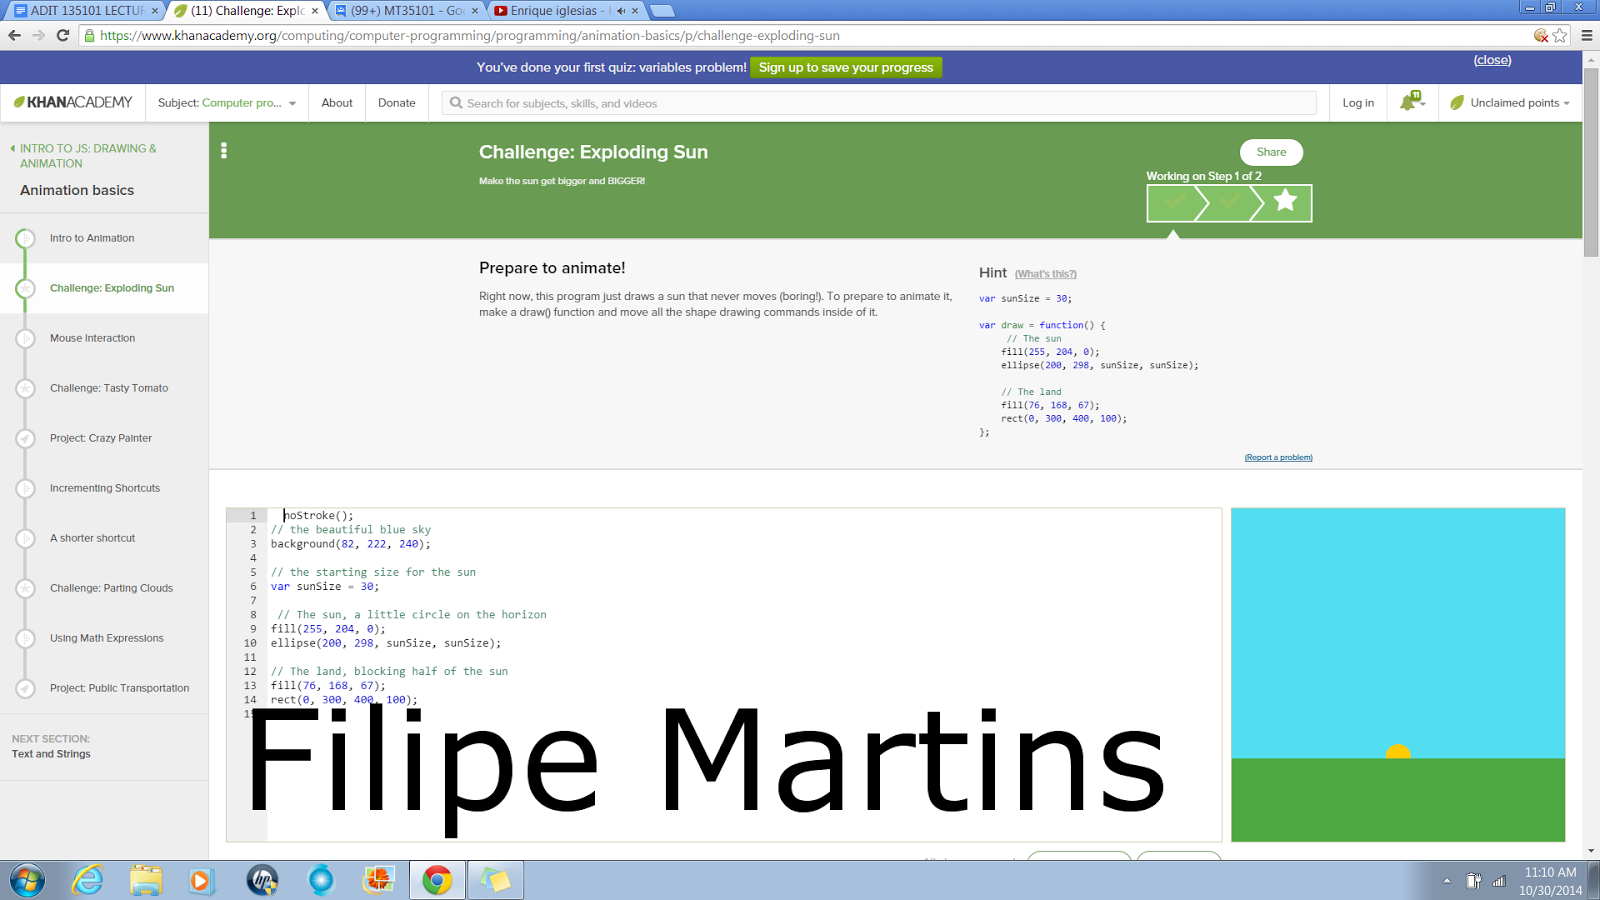
This is another tutorial that I watched .
Here is another video that was showed on Khan Academy.
Here I had to use shapes to make items on the plate on the right.
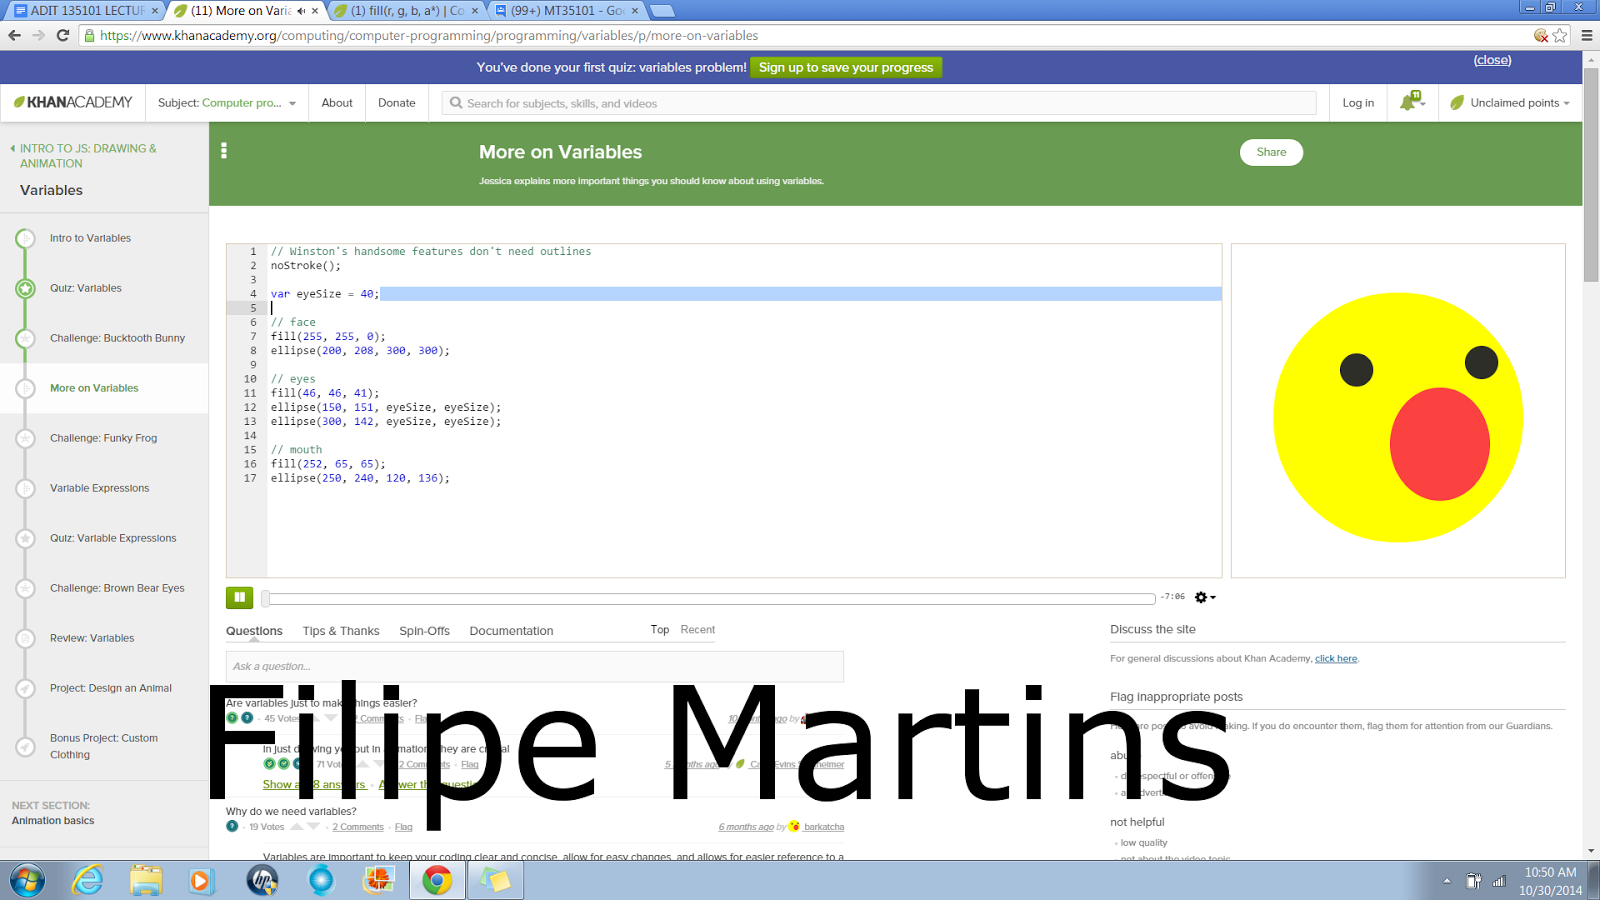
In this tutorial they are showing me how to change the size of the eyes. 
Here they are changing the size of something else on the face. 
This is another tutorial that they showed using the smile face again. 
Here I am trying out a project using the tutorials that I watched.
Here is another tutorial that was showed to me on Khan. 
Here is a list of information that was shown on Khan. 

I completed 3 hours of tutorials and projects learning about JavaScript on Khan Academy. 


Wednesday, October 29, 2014

Class 8, Scratch Animated Greeting Card

In this screenshot I am starting my greeting card by putting some text.
Here I am making some Christmas trees as Bitmap graphics.
Here I took a screenshot after I made a snowflake and a candy cane. 
In this screenshot I just finished drawing a skate and also a sleigh. 
Here I am organizing my images so that everything fits evenly on the card.
I am recording a Christmas song so that it will play when the space bar is clicked. 
Here I am using the scripts so that text pops up when you press the space bar.
I am editing the music that I recorded so that it will play after the Santa "ho ho ho" that I recorded. 
This is the projects page on Scratch and I added some description about the project. 
This is the final image oif my greeting card that I created on Scratch using Bitmap and vector graphics. Here is the link to the project on Scratch: http://scratch.mit.edu/projects/31852370/ 


Thursday, October 23, 2014

Class 8: Getting Started with Vector and Bitmap Graphics in Scratch

Here is the screenshot of me viewing the video on Scratch.com. 
This screenshot shows the conformation that I signed up for an account on Scratch. 
Here I am working on the tutorial on Scratch and getting to know the website.
In this screenshot I am practicing using Scratch by inserting sound into an image.  
Here I am viewing the different projects that Scratch has to work on in the website. 
This screenshot is of me reading about Vector graphics on Scratch.
Here I am reading about the paint editor that Scratch has to edit there graphics. 
This is me constructing my Vector Graphic. I put a background and added my name. 
Here is the final Vector Graphic that I made on Scratch and there is sound in it as well. Here is the link to link directly to the graphic to view it: http://scratch.mit.edu/projects/31096320/ 
Here I am working on my Bitmap Graphic on Scratch.
Here I am adding motion to my graphic. The motion will happen when the viewer clicks their space bar. 
This final screenshot is my final Bitmap Graphic that I made on Scratch. Here is the link that links to the graphic directly on Scratch : http://scratch.mit.edu/projects/31098966/


Class 7 Web GL: Processing with PlayCanvas

Here is a screenshot of me starting the basic keyboard input tutorial.
Here is the project that we had to do. 
Here I am still continuing the tutorial.
This is the tutorial basic mouse input. 
This is the script involved in the basic mouse tutorial. 
Here is the program that we had to play. 
Continuing the tutorial. 
Here is the basic Camera tutorial. 
Here is a screenshot of me reading the tutorial.
here is the diagram that was in the tutorial. 
Here is me making my own keyboard input program. 
I am putting in the script. 
Here is the final program and it allows me to use the arrow keys to move the box. 
Here I am starting my program for the  mouse input.  
Here I am putting my script into the program. 
I am doing my program and using the basic camera options. 
Here is the final image of the program as I zoomed into the program and changed color using the options for the camera.